return home
Setting Up Raspberry Pi With 3.5" Touch Screen (Xpt2046)
Just documenting how I set up the 3.5” touchscreen (XPT2046) on my Raspberry Pi 4 for future reference. I followed the instructions from LCD Wiki.
🔌 Step 1: Raspberry Pi Setup
- Download Raspberry Pi Imager: https://www.raspberrypi.com/software
- Flash Raspberry Pi OS to the SD card
-
Boot up the Pi, connect to the internet, and update:
sudo apt update && sudo apt upgrade -y
📺 Step 2: Connect the Screen
- Shut down the Pi
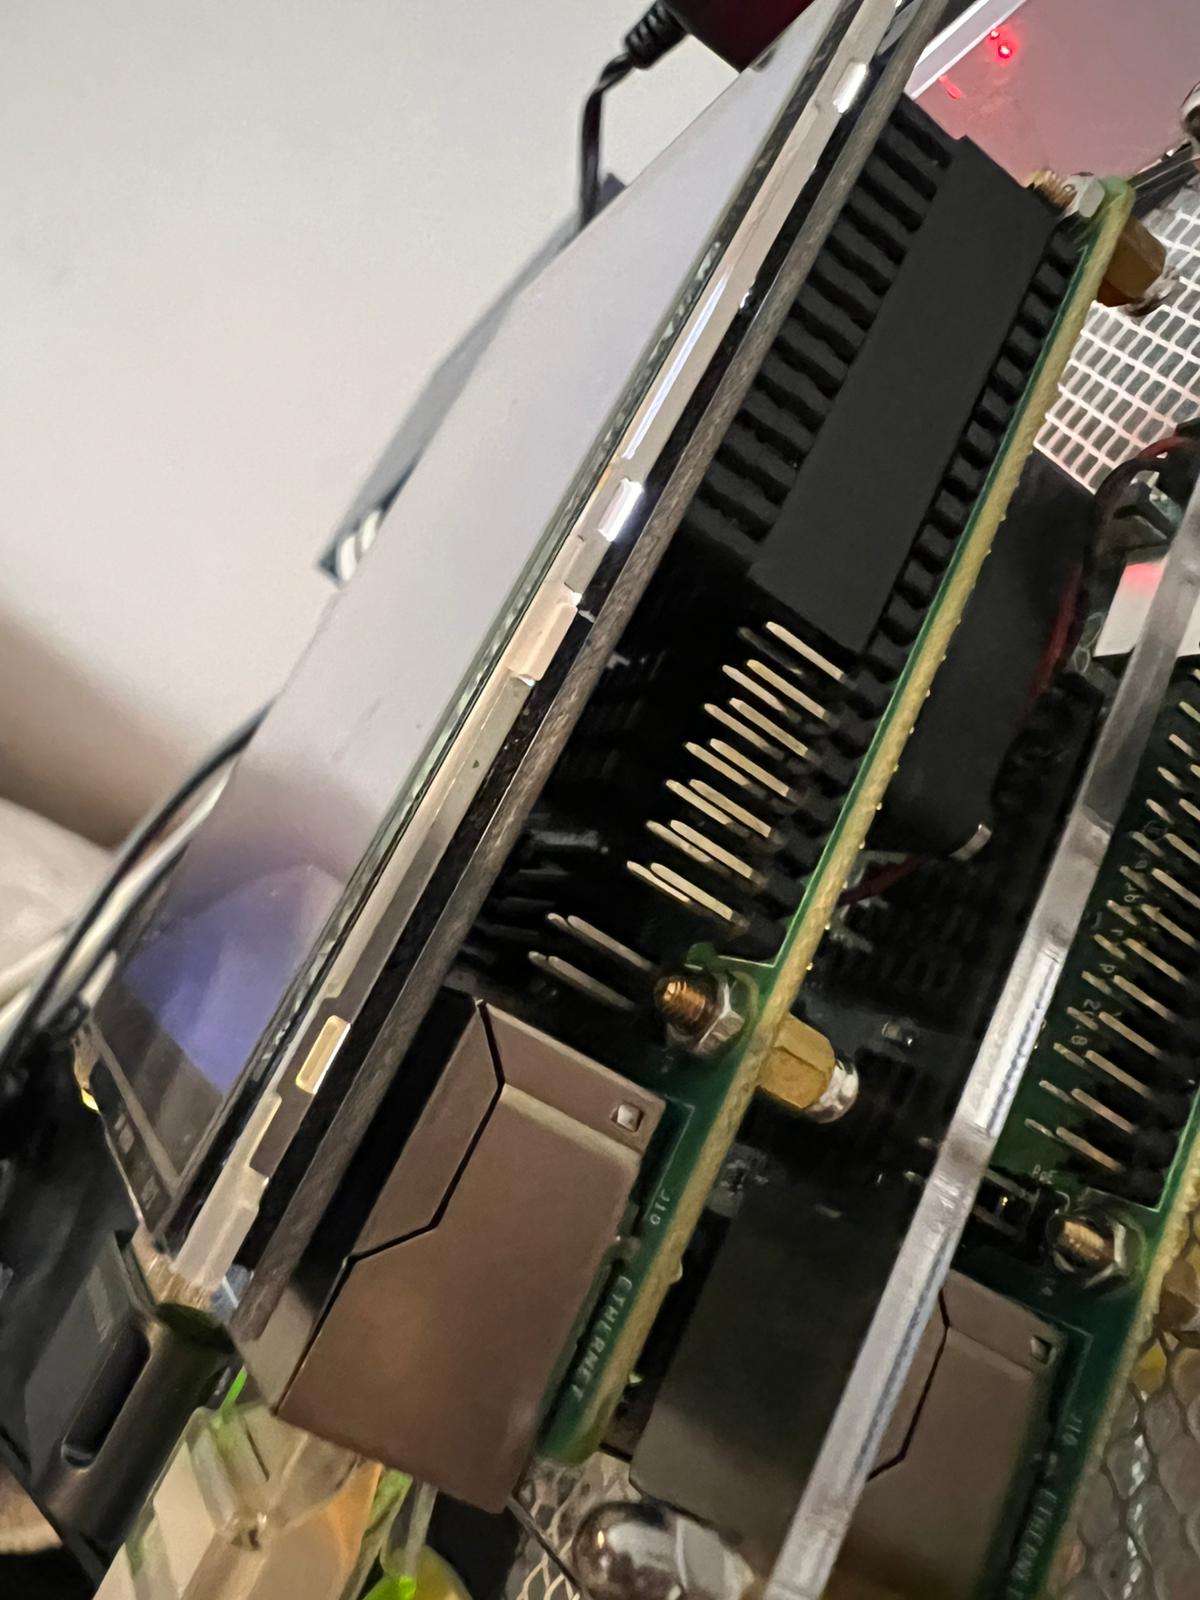
- Plug the screen onto the GPIO header
- Power it back on (you may see a white screen at this point — that’s normal)

🔧 Step 3: Enable SPI
sudo raspi-config
- Go to
Interface Options→SPI→ Enable -
Reboot:
sudo reboot
📦 Step 4: Install Driver
git clone https://github.com/goodtft/LCD-show.git
chmod -R 755 LCD-show
cd LCD-show/
sudo ./LCD35-show
The Pi will reboot and the screen should display the desktop.
🖐️ Step 5: Touchscreen Calibration (Optional)
For some reason, the touch input is not accurate and requires calibration. The LCD-show driver has issues with the XPT2046 controller—touch input may be inverted (e.g., touching the top-left registers as bottom-right).
To calibrate:
sudo apt install xinput-calibrator
xinput_calibrator
-
Follow the instructions and tap the calibration points
-
Then run the following:
sudo nano /etc/X11/xorg.conf.d/99-calibration.conf -
Change
"SwapAxes" "1"to"SwapAxes" "0" -
Save by pressing
Ctrl + X, thenY, andEnter -
Reboot the Pi
🔁 Rotate the Display (If Needed)
cd LCD-show/
sudo ./rotate.sh 90
You can change 90 to 0, 180, or 270, representing rotation angles in degrees.
🧠 Notes
- A white screen at first boot is normal—means the driver hasn’t loaded yet
- Touch might be inaccurate until calibrated